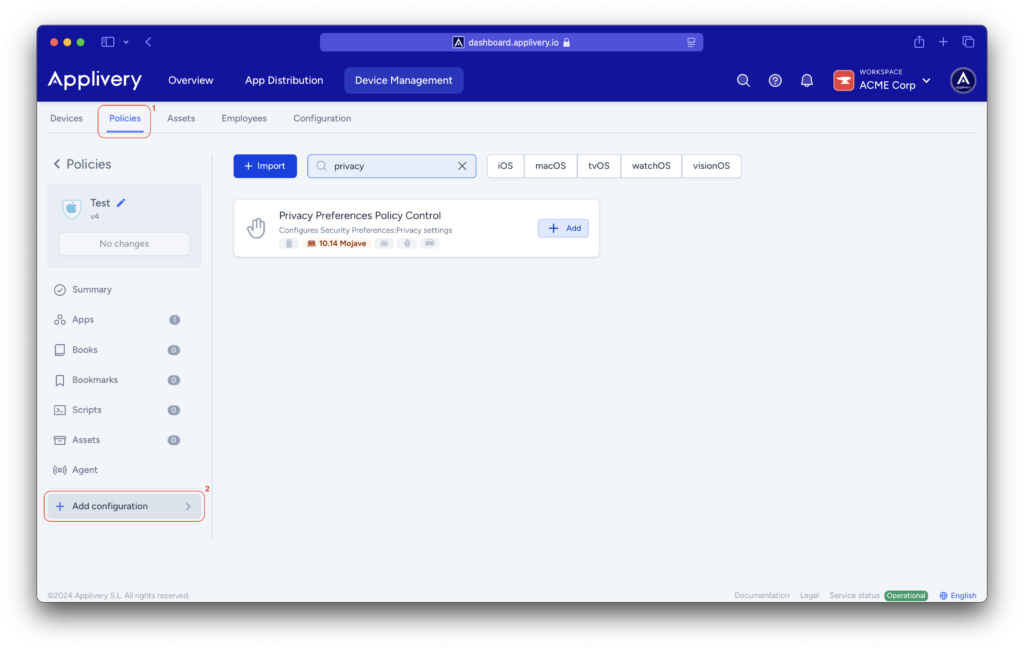
PPPC profiles (or Privacy Preferences Policy Control) enable IT admins to remotely manage privacy settings on macOS devices (version 10.14 Mojave and later). With these profiles, you can pre-authorize or deny specific applications access to macOS services such as Contacts, Camera, Microphone, and more. This streamlines workflows by removing users’ permission prompts and enhances security by preventing unauthorized access.
Identifying App Permissions #
Before creating a PPPC profile, it’s important to identify the specific permissions an application requires:
- Test environment: Install the app on a dedicated test Mac or virtual machine.
- Monitor user prompts: Launch the app and take note of any pop-up prompts requesting access to services like the Camera or Documents.
- Check System Preferences: Go to System Preferences > Security & Privacy > Privacy. Look for the app under services such as Contacts or Camera. If the app appears, it requires access to that service.
Creating and assigning a PPPC profile #

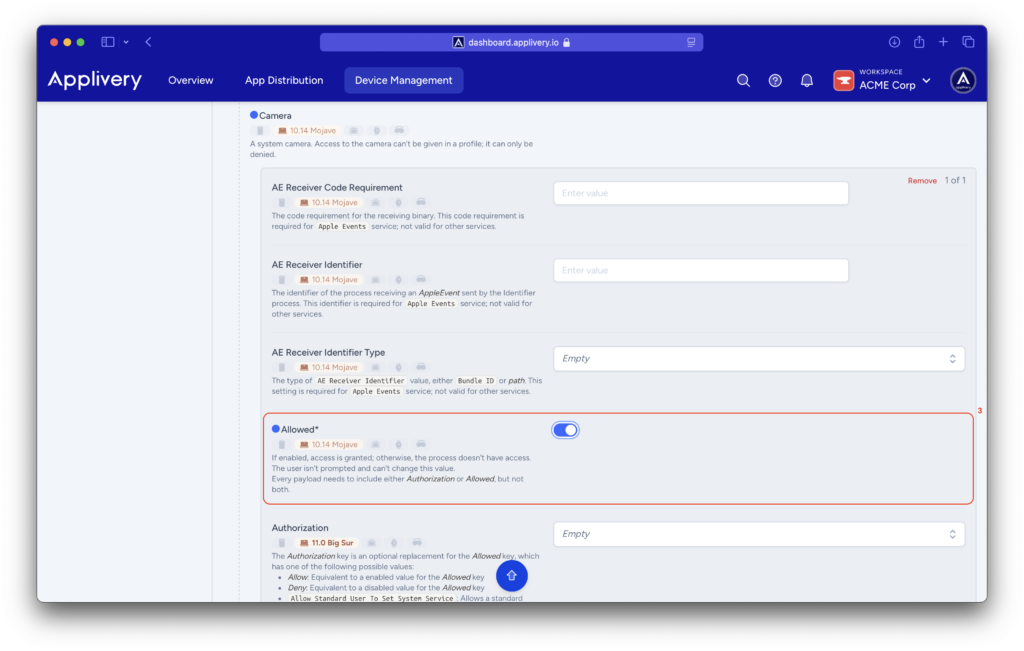
You will need to click the + Add element button for the apps where you want to configure permissions.

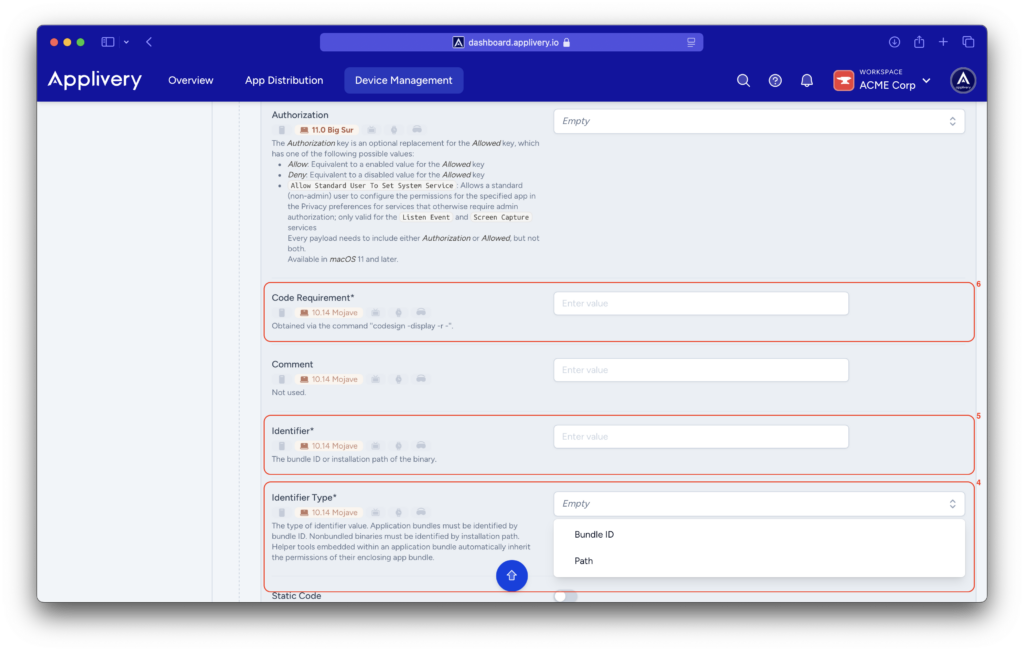
You will need to define the app to which you are granting permissions by specifying the Identifier type (4) and the Bundle ID or the app’s path identifier (5). Additionally, you must add the app’s Code Requirement (6).

Important considerations #
- Conflicting policies: If multiple PPPC profiles with conflicting settings are applied, the most restrictive setting (deny) will take precedence.
- User control: Although policies pre-configure app permissions, users can still access certain settings in Apple-developed apps like Photo Booth or FaceTime.
- Device update: Users must relaunch the configured apps after policy deployment for the changes to take effect.